Holes 13 – 18
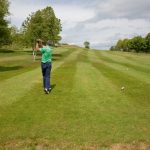
- 13th Hole – Par 3 – 208 Yards – A long par three, guarded by ponds and bunkers. A carefully aimed tee shot required into this two tiered green. Pin position is usually guarded on this hole making a par a well earned one.
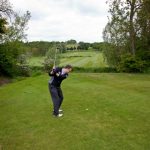
- 14th Hole – Par 4 – 317 Yards – A blind Tee shot requires you to aim slightly left as the slope of the fairway will guide the ball to the center. 10/10 tariff second shot required as this green is severely sloped from all angles.
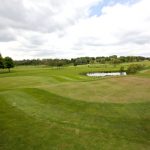
- 15th Hole – Par 5 – 447 Yards – OakLeaf’s signature hole requires a huge amount of course management. The tee shot has to be well guided down the right hand side of the hole. More ditches and ponds await the second shot, so plotting your landing area for your second shot is a must. If you thought it was all over, then your third shot plays into a two tiered green that sits adjacent to a pond. A tough par 5 that lends itself to more bogey’s than birdies.
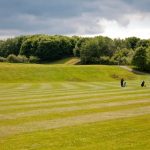
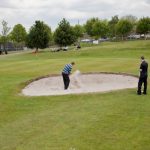
- 16th Hole – Par 4 – 276 Yards – Drive-able par 4 for some, however danger lurking both right and left as trees await left and a ditch to the right. Bunkers in fairway and surrounding the green make this seemingly easy par 4 more difficult than the yardage suggests.
- 17th Hole – Par 4 – 352 Yards – A tough drive from this hole. Position A requires cutting the corner off and driving the ball over the corner of the driving range. The second shot is hit towards a green that sits on a steep bank. A precise second shot makes for good rewards.
- 18th Hole – Par 3 – 152 Yards – (Par 3 Yellow Tees) – Bunkers guard your approach on the left and right and bunkers to the rear are waiting to catch you out.