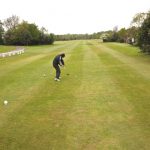
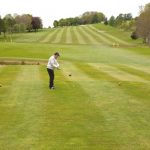
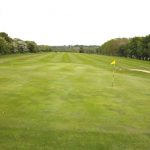
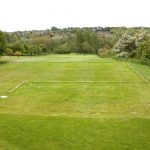
Holes 1 – 6
- 1st Hole – Par 5 – 437 Yards -Although not a long hole, making birdie is not easy. O.O.B on the right hand side therefore a good tee shot is vital; right centre of fairway if possible to open up the green with your 2nd or 3rd shot. Green slopes from front to back.
- 2nd Hole – Par 4 – 421 Yards – Long uphill par 4 makes this hole very tough at the best of times. Your tee shot wants to be up the left hand side of the fairway keeping both the fairway bunker and the right green-side bunker out of play, opening up the green for long second shot.
- 3rd Hole – Par 4 – 382 Yards – Off competition tees it is a blind tee shot with your line over the tree on the left hand side. Off yellow tees it is a tight tee shot with O.O.B running entirely down the right hand side and continuing behind the green. A well guarded sloping green with bunkers either side, makes it difficult to hit this green in regulation.
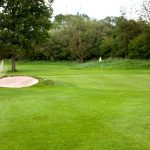
- 4th Hole – Par 3 – 165 Yards – A downhill par 3 that plays tougher than it looks. O.O.B tight down the right with a severe sloping green front to back which requires a high shot to stop the ball on the green. The two bunkers at the back of the green means going long is not an option.
- 5th Hole – Par 5 – 484 Yards – A par 5 that requires good course management. A ditch runs across the fairway at 260 yards. Laying up is ideal on the left hand side of the fairway if possible as the fairway slopes to the right where 2 large trees will block your 2nd shot towards the green. With trees running along the right hand side, left is a safe place to be, but you must then play your pitch shot over a bunker into a small green.
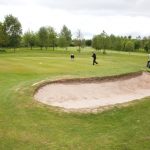
- 6th Hole – Par 4 – 289 Yards – If you’re a big hitter, this dog leg right may tempt you to go for the green. But beware of the trees cut close to the green, the large bunker short of the green and O.O.B behind the green. Play safe to the corner and leave yourself a simple pitch shot in.